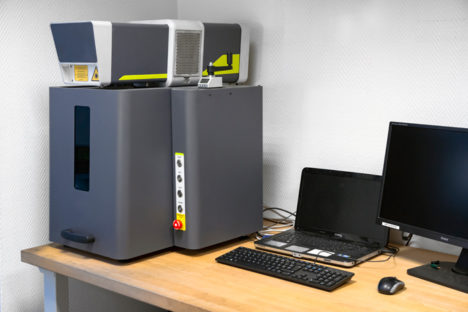
We have implemented stringent quality checks & control steps all the way throughout the manufacturing process. From the minute raw material gets delivered to our factory, we inspect, control and record… EVERYTHING!
We do not accept to work with defective material nor do we tolerate imperfect parts!
Our fully temperature-controlled Production facility houses an independant Quality Control Laboratory equipped with all the necessary Tools for our Team to carry out the most thorough inspection tests – from AQL audits all the way to 100% inspection with dimensional reports and material certification.
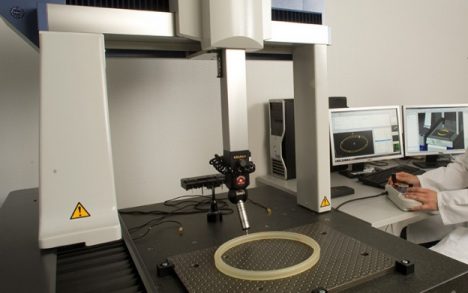
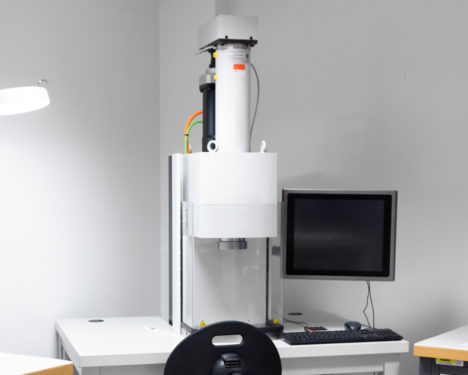
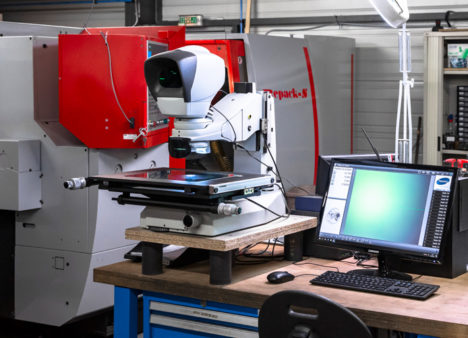
Here is some of the equipment we use daily:
- During Production: Romer multi-axes measuring arm up to 3000 mm, 3D vision engineering, Mitutoyo Profile Projector
- Control Laboratory: Mitutoyo Crysta Apex 3D (with measurement image analyser), Mitutoyo Quick scope QS 200Z Control Optical, Mitutoyo Surface Roughness tester.
